You can either copy and paste our code snippet to get up and running in a second or use our JavaScript library for more advanced integrations. Our embedded checkout allows you to provide a seamless purchasing experience without redirecting users away from your site.

Code Snippet

The code snippet can be used on any website or CMS that allows you to insert HTML.

First, create a Checkout Link as described in the previous section. The code snippet can directly be copied from there by clicking on Copy Embed Code.

The snippet looks like this:

<a
  href="__CHECKOUT_LINK__"
  data-polar-checkout
  data-polar-checkout-theme="light"
>
  Purchase
</a>
<script
  src="https://cdn.jsdelivr.net/npm/@polar-sh/checkout@0.1/dist/embed.global.js"
  defer
  data-auto-init
></script>

This will display a 
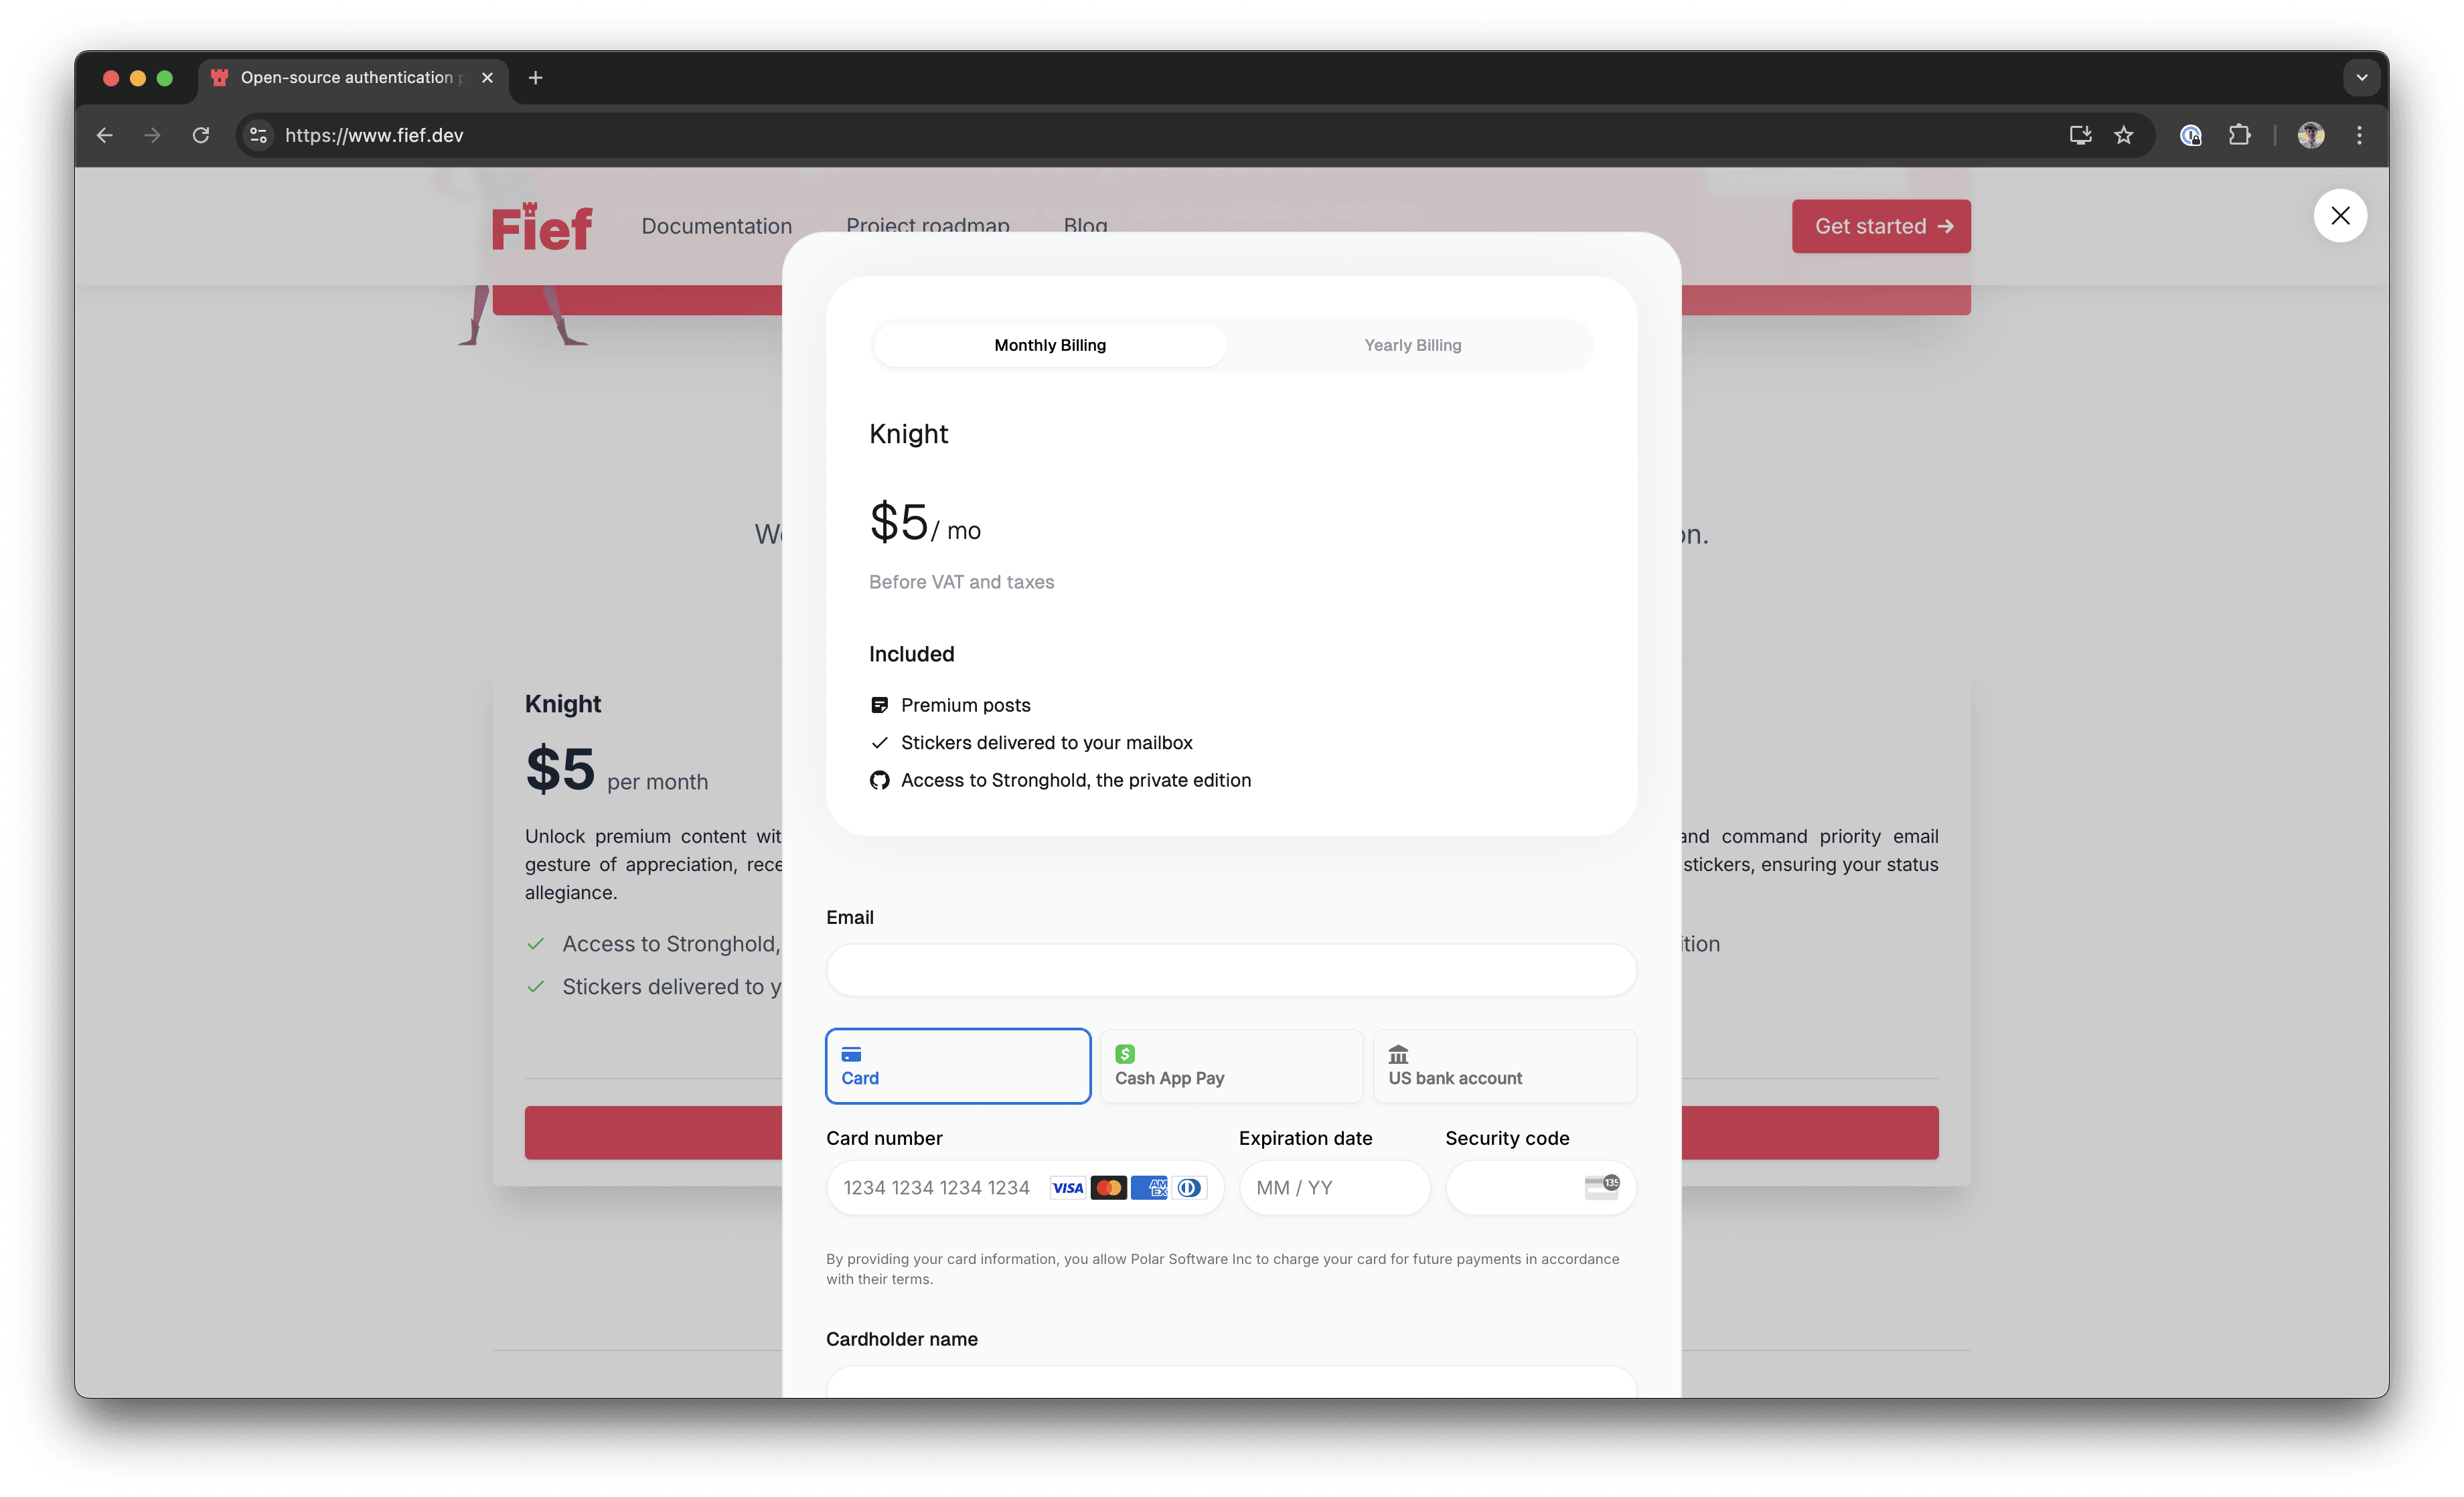
Purchase link which will open an inline checkout when clicked.

You can style the trigger element any way you want, as long as you keep the data-polar-checkout attribute.

Import Library

If you have a more advanced project in JavaScript, like a React app, adding the <script> tag may not be an option. In this case, you can install our dedicated library.

bash npm npm install @polar-sh/checkout  bash pnpm pnpm add     @polar-sh/checkout  bash yarn yarn add @polar-sh/checkout

Then, you should import the PolarEmbedCheckout helper class and manually call PolarEmbedCheckout.init(). This will add the required handlers on elements having the data-polar-checkout attribute.

Here is an example in React:

import { PolarEmbedCheckout } from '@polar-sh/checkout/embed'
import { useEffect } from 'react'

const PurchaseLink = () => {
  useEffect(() => {
    PolarEmbedCheckout.init()
  }, [])

  return (
    <a
      href="__CHECKOUT_LINK__"
      data-polar-checkout
      data-polar-checkout-theme="light"
    >
      Purchase
    </a>
  )
}

export default PurchaseLink

Instead of a Checkout Link, you can also use a Checkout Session URL created dynamically from the API.

For this to work, make sure to set the embed_origin parameter correctly when creating the Checkout Session. For example, if your checkout page is served on the URL https://example.com/checkout, you should set embed_origin to https://example.com.

Advanced Integration

For users who need more control over the embedded checkout flow, the PolarEmbedCheckout class provides several advanced features.

Programmatically creating an embed

Instead of using declarative triggers with data-polar-checkout attributes, you can programmatically create and control checkout instances:

import { PolarEmbedCheckout } from "@polar-sh/checkout/embed";

// Open checkout programmatically when needed
const openCheckout = async () => {
  const checkoutLink = "__CHECKOUT_LINK__";
  const theme = "light"; // or 'dark'

  try {
    // This creates the checkout iframe and returns a Promise
    // that resolves when the checkout is fully loaded
    const checkout = await PolarEmbedCheckout.create(checkoutLink, theme);

    // Now you can interact with the checkout instance
    return checkout;
  } catch (error) {
    console.error("Failed to open checkout", error);
  }
};

// Example: Trigger checkout when a button is clicked
document.getElementById("buy-button").addEventListener("click", () => {
  openCheckout();
});

Listening for checkout events

You can listen for checkout events to respond to user interactions:

import { PolarEmbedCheckout } from "@polar-sh/checkout/embed";

const openCheckoutWithEvents = async () => {
  const checkout = await PolarEmbedCheckout.create("__CHECKOUT_LINK__");

  // Listen for when the checkout is loaded
  checkout.addEventListener("loaded", (event) => {
    console.log("Checkout loaded");
    // Call event.preventDefault() if you want to prevent the standard behavior
    // event.preventDefault()
    // Note: This would prevent removing the loader if it's still visible
  });

  // Listen for when the checkout has been closed
  checkout.addEventListener("close", (event) => {
    console.log("Checkout has been closed");
    // Call event.preventDefault() if you want to prevent the standard behavior
    // event.preventDefault()
  });

  // Listen for when the checkout has been confirmed (payment processing)
  checkout.addEventListener("confirmed", (event) => {
    console.log("Order confirmed, processing payment");
    // Call event.preventDefault() if you want to prevent the standard behavior
    // event.preventDefault()
    // Note: This would prevent setting the checkout as non-closable
  });

  // Listen for successful completion
  checkout.addEventListener("success", (event) => {
    console.log("Purchase successful!", event.detail);

    // Call event.preventDefault() if you want to prevent the standard behavior
    // event.preventDefault()
    // Note: For success event, this prevents automatic redirection if redirect is true

    // If redirect is false, you can show your own success message
    if (!event.detail.redirect) {
      showSuccessMessage();
    }
    // Otherwise, the user will be redirected to the success URL (unless prevented)
  });

  return checkout;
};

React Integration with event handling

Here’s a more complete React example that handles checkout events:

import { PolarEmbedCheckout } from '@polar-sh/checkout/embed'
import { useState, useEffect } from 'react'

const CheckoutButton = () => {
  const [checkoutInstance, setCheckoutInstance] = useState(null)

  // Clean up checkout instance on unmount
  useEffect(() => {
    return () => {
      if (checkoutInstance) {
        checkoutInstance.close()
      }
    }
  }, [checkoutInstance])

  const handleCheckout = async () => {
      try {
        const checkout = await PolarEmbedCheckout.create(
          '__CHECKOUT_LINK__',
          'light'
        )

      setCheckoutInstance(checkout)

      checkout.addEventListener('success', (event) => {
        // Track successful purchase
        analytics.track('Purchase Completed', {
          productId: 'your-product-id',
          // Add other analytics data
        })

        // Show success message or redirect
        if (!event.detail.redirect) {
          // Handle success in your app
        }
      })

      checkout.addEventListener('close', (event) => {
        // Clean up our reference when checkout is closed
        setCheckoutInstance(null)
      })
    } catch (error) {
      console.error('Failed to open checkout', error)
    }
  }

  return (
    <button onClick={handleCheckout}>
      Complete Purchase
    </button>
  )
}

export default CheckoutButton

Programmatically closing checkout

In some cases, you might need to programmatically close the checkout - for instance, if you detect that a user needs to take an action elsewhere in your application first:

import { PolarEmbedCheckout } from "@polar-sh/checkout/embed";

// Example: open checkout and store the instance
let activeCheckout = null;

async function openCheckout() {
  const checkout = await PolarEmbedCheckout.create("__CHECKOUT_LINK__");
  activeCheckout = checkout;
  return checkout;
}

// Later, close it programmatically when needed
function closeCheckout() {
  if (activeCheckout) {
    activeCheckout.close();
    // The 'close' event will fire automatically
    // Don't set activeCheckout to null here, as we'll handle that in the event listener
  }
}

// Add a listener to update our reference when checkout is closed
function setupCheckout(checkout) {
  checkout.addEventListener("close", (event) => {
    // Reset our reference when checkout is closed
    activeCheckout = null;
  });
  return checkout;
}

// Example usage
document.getElementById("open-checkout").addEventListener("click", async () => {
  const checkout = await openCheckout();
  setupCheckout(checkout);
});
document
  .getElementById("close-checkout")
  .addEventListener("click", closeCheckout);

Enabling Wallet Payment Methods (Apple Pay, Google Pay, etc.)

By default, wallet payment methods such as Apple Pay and Google Pay are not enabled when embedding our checkout form into your website. For security reasons, your website domain needs to be manually validated.

To enable wallet payment methods on your website, please email us with your organization slug and the domain you wish to allow.